-
AuthorPosts
-
-
Dodge Viper Generation 2 Fuel door removal
The Generation 2 Fuel Door is particularly subject to corrosion over time. Here are the steps to take
in order to successfully remove the fuel door. During this process, take your own photos after each
step. This will serve as a reference photo once your cap comes back after its refinished. At Havik
Performance, we send out the fuel doors to calchrome.com where we typically order the cap in
black chrome.
Tools required
Hammer
Punch
5/32 Allen Key
½ Socket
Clamp
WD-40
Step 1:
Use 5/32 Allen key to remove 4 bolts around outside of fuel door.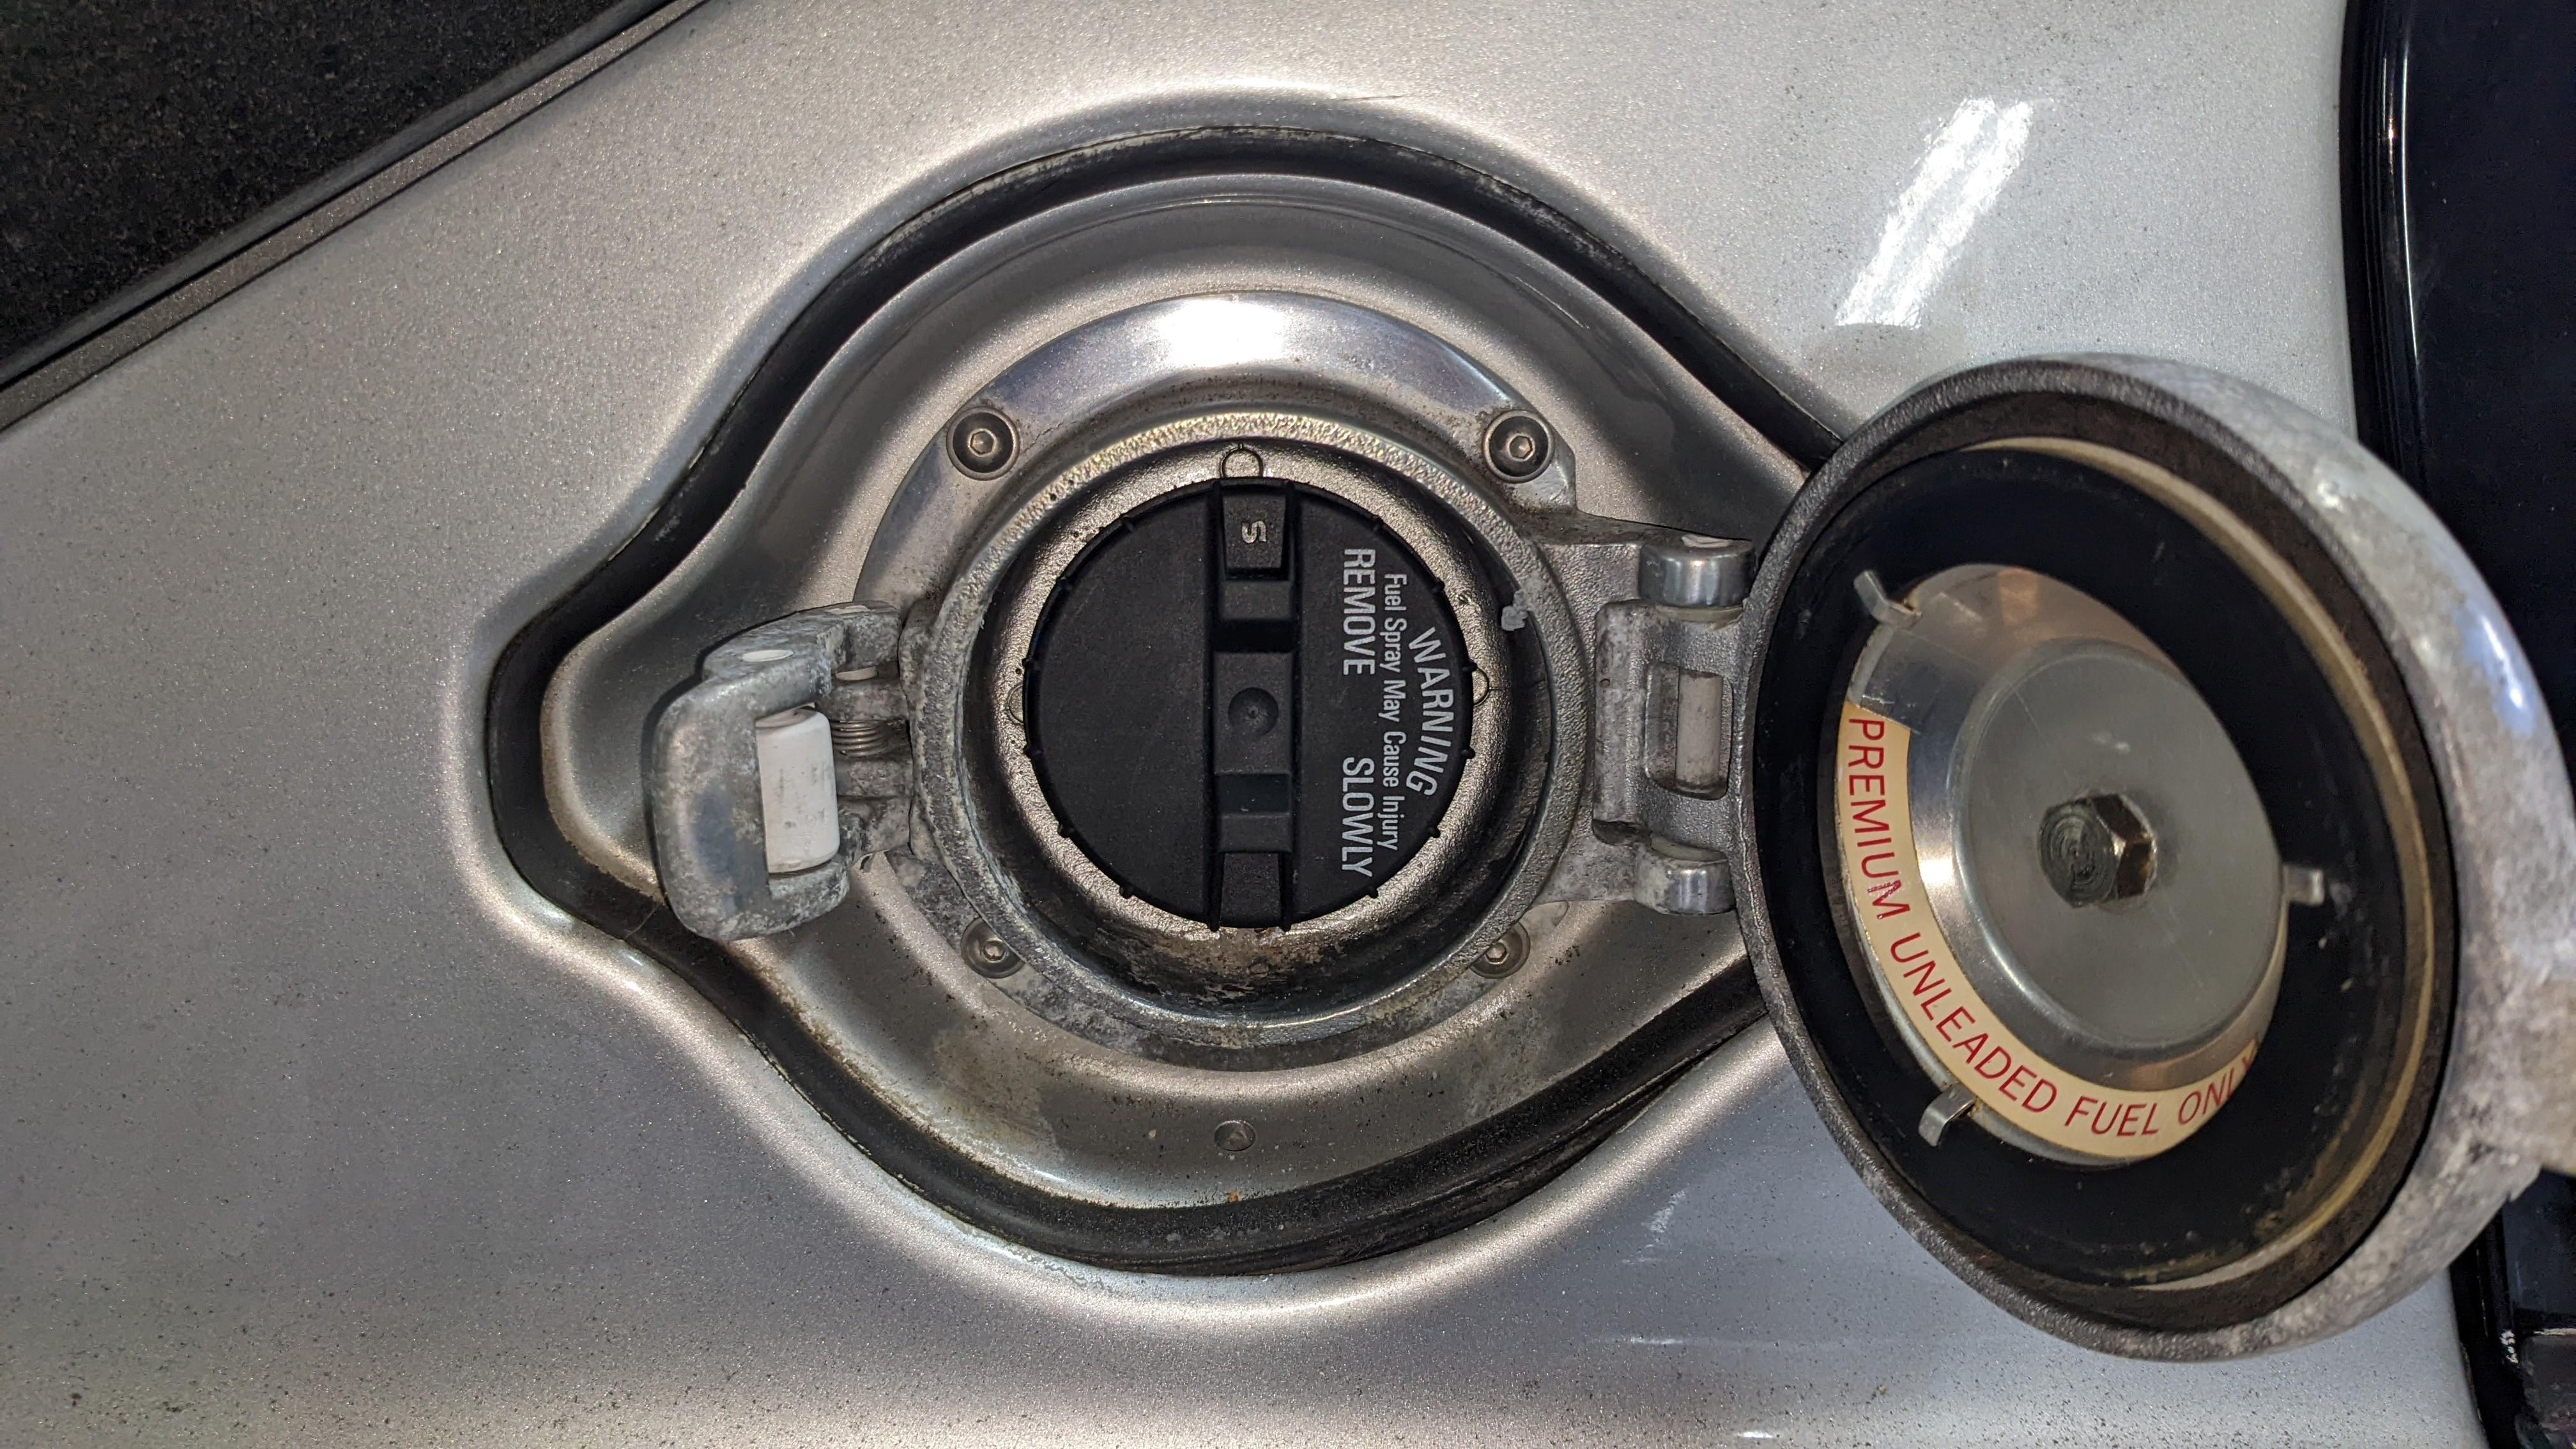
Step 2:
Remove fuel cap and spray rubber gasket with WD-40. This will make it easier when getting gasket
over the filler neck to get the door off.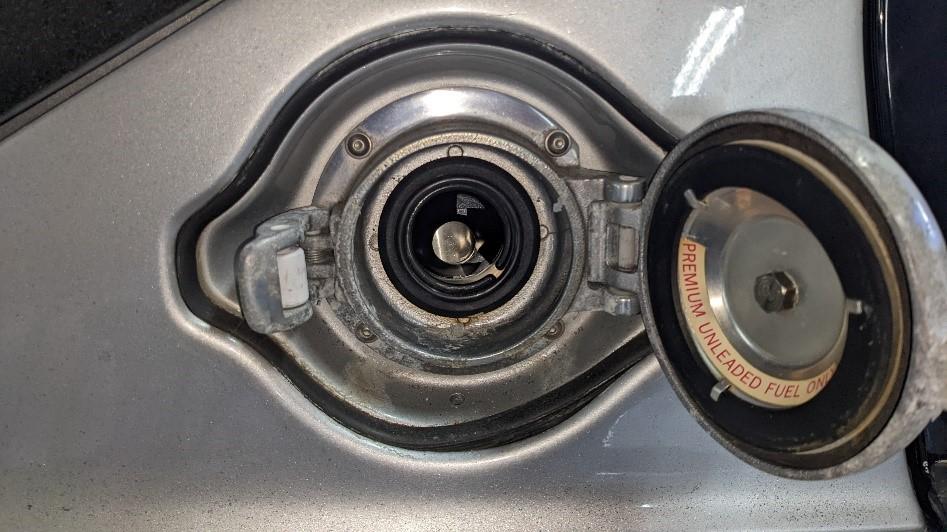
Step 3
Pull fuel door off of gasket that is holding the door to the filler neck.Step 4:
Lubricate all pins that hold the door together. Use a clamp on the fuel door latch when hammering
out the pin that holds it in place. This will prevent the latch from stressing and breaking. If you look
at the pin one side is a square, you need to hammer it from the circular side not the square side. It
should be the bottom side of the latch as pictured.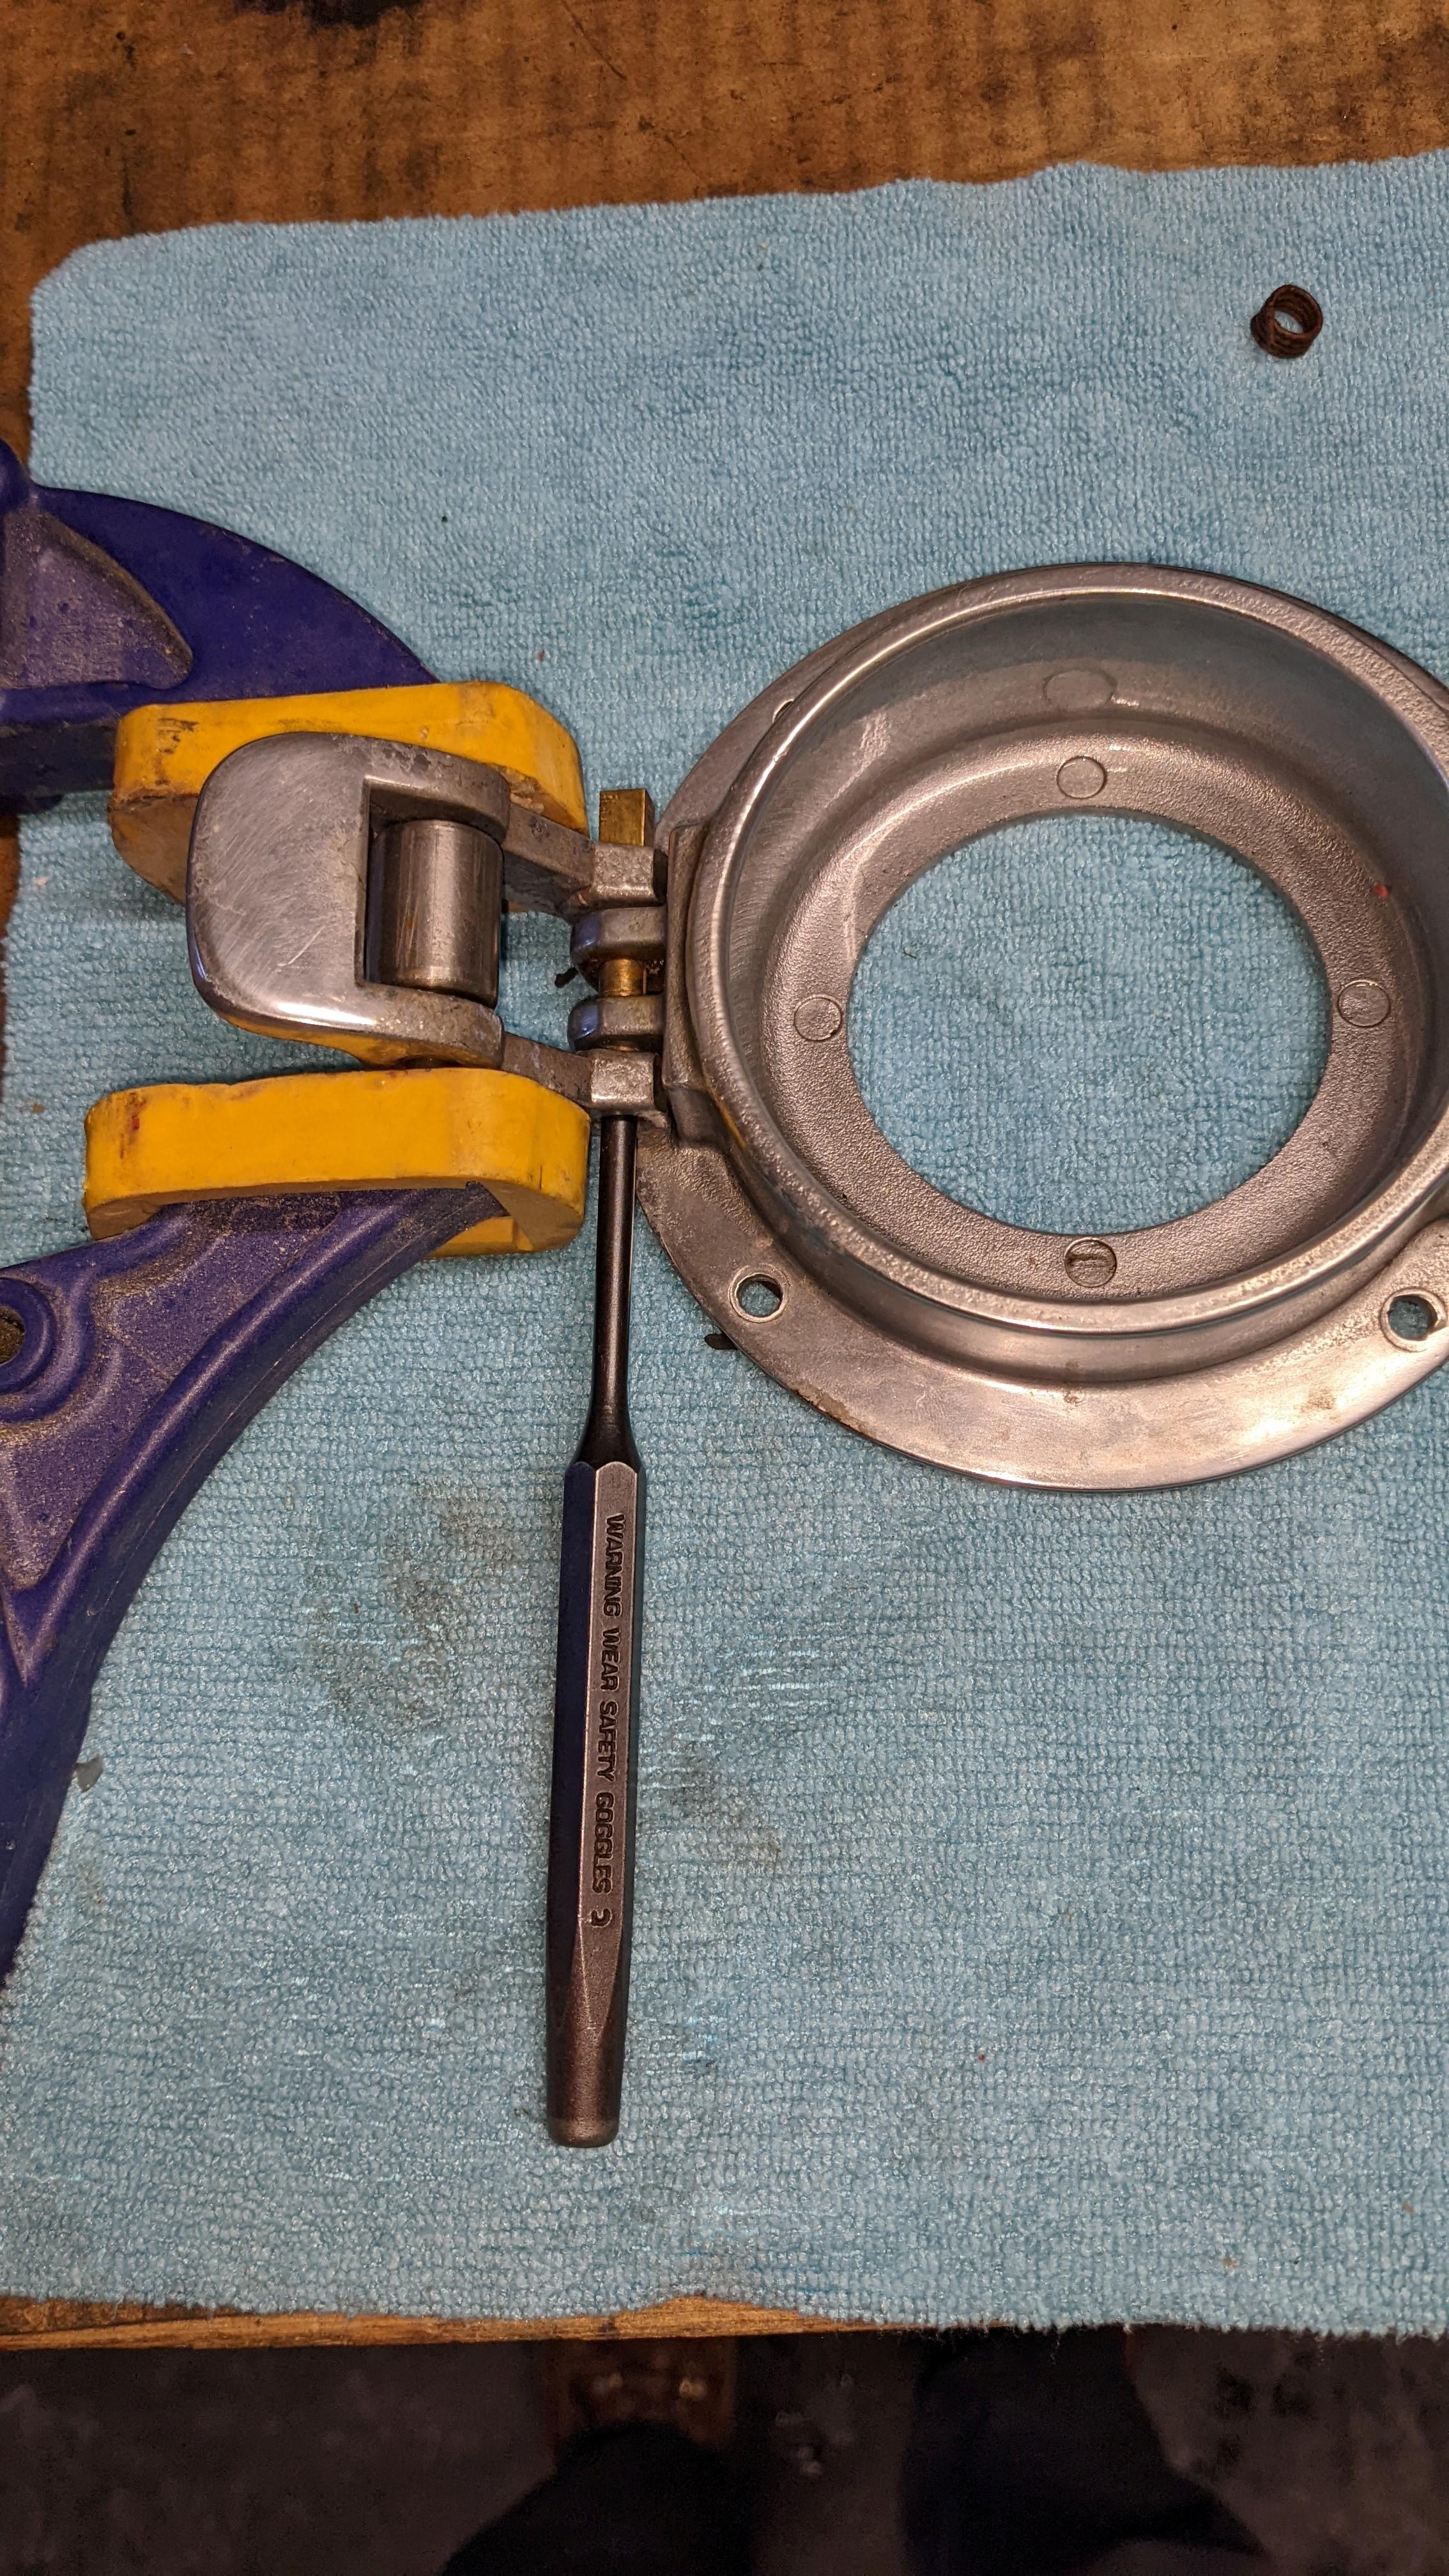
Step 5:
Next, remove the pin on the door hinge. Make sure this pin is lubricated to aide in removal. Similar
to the latch side, use the punch to press the pin out.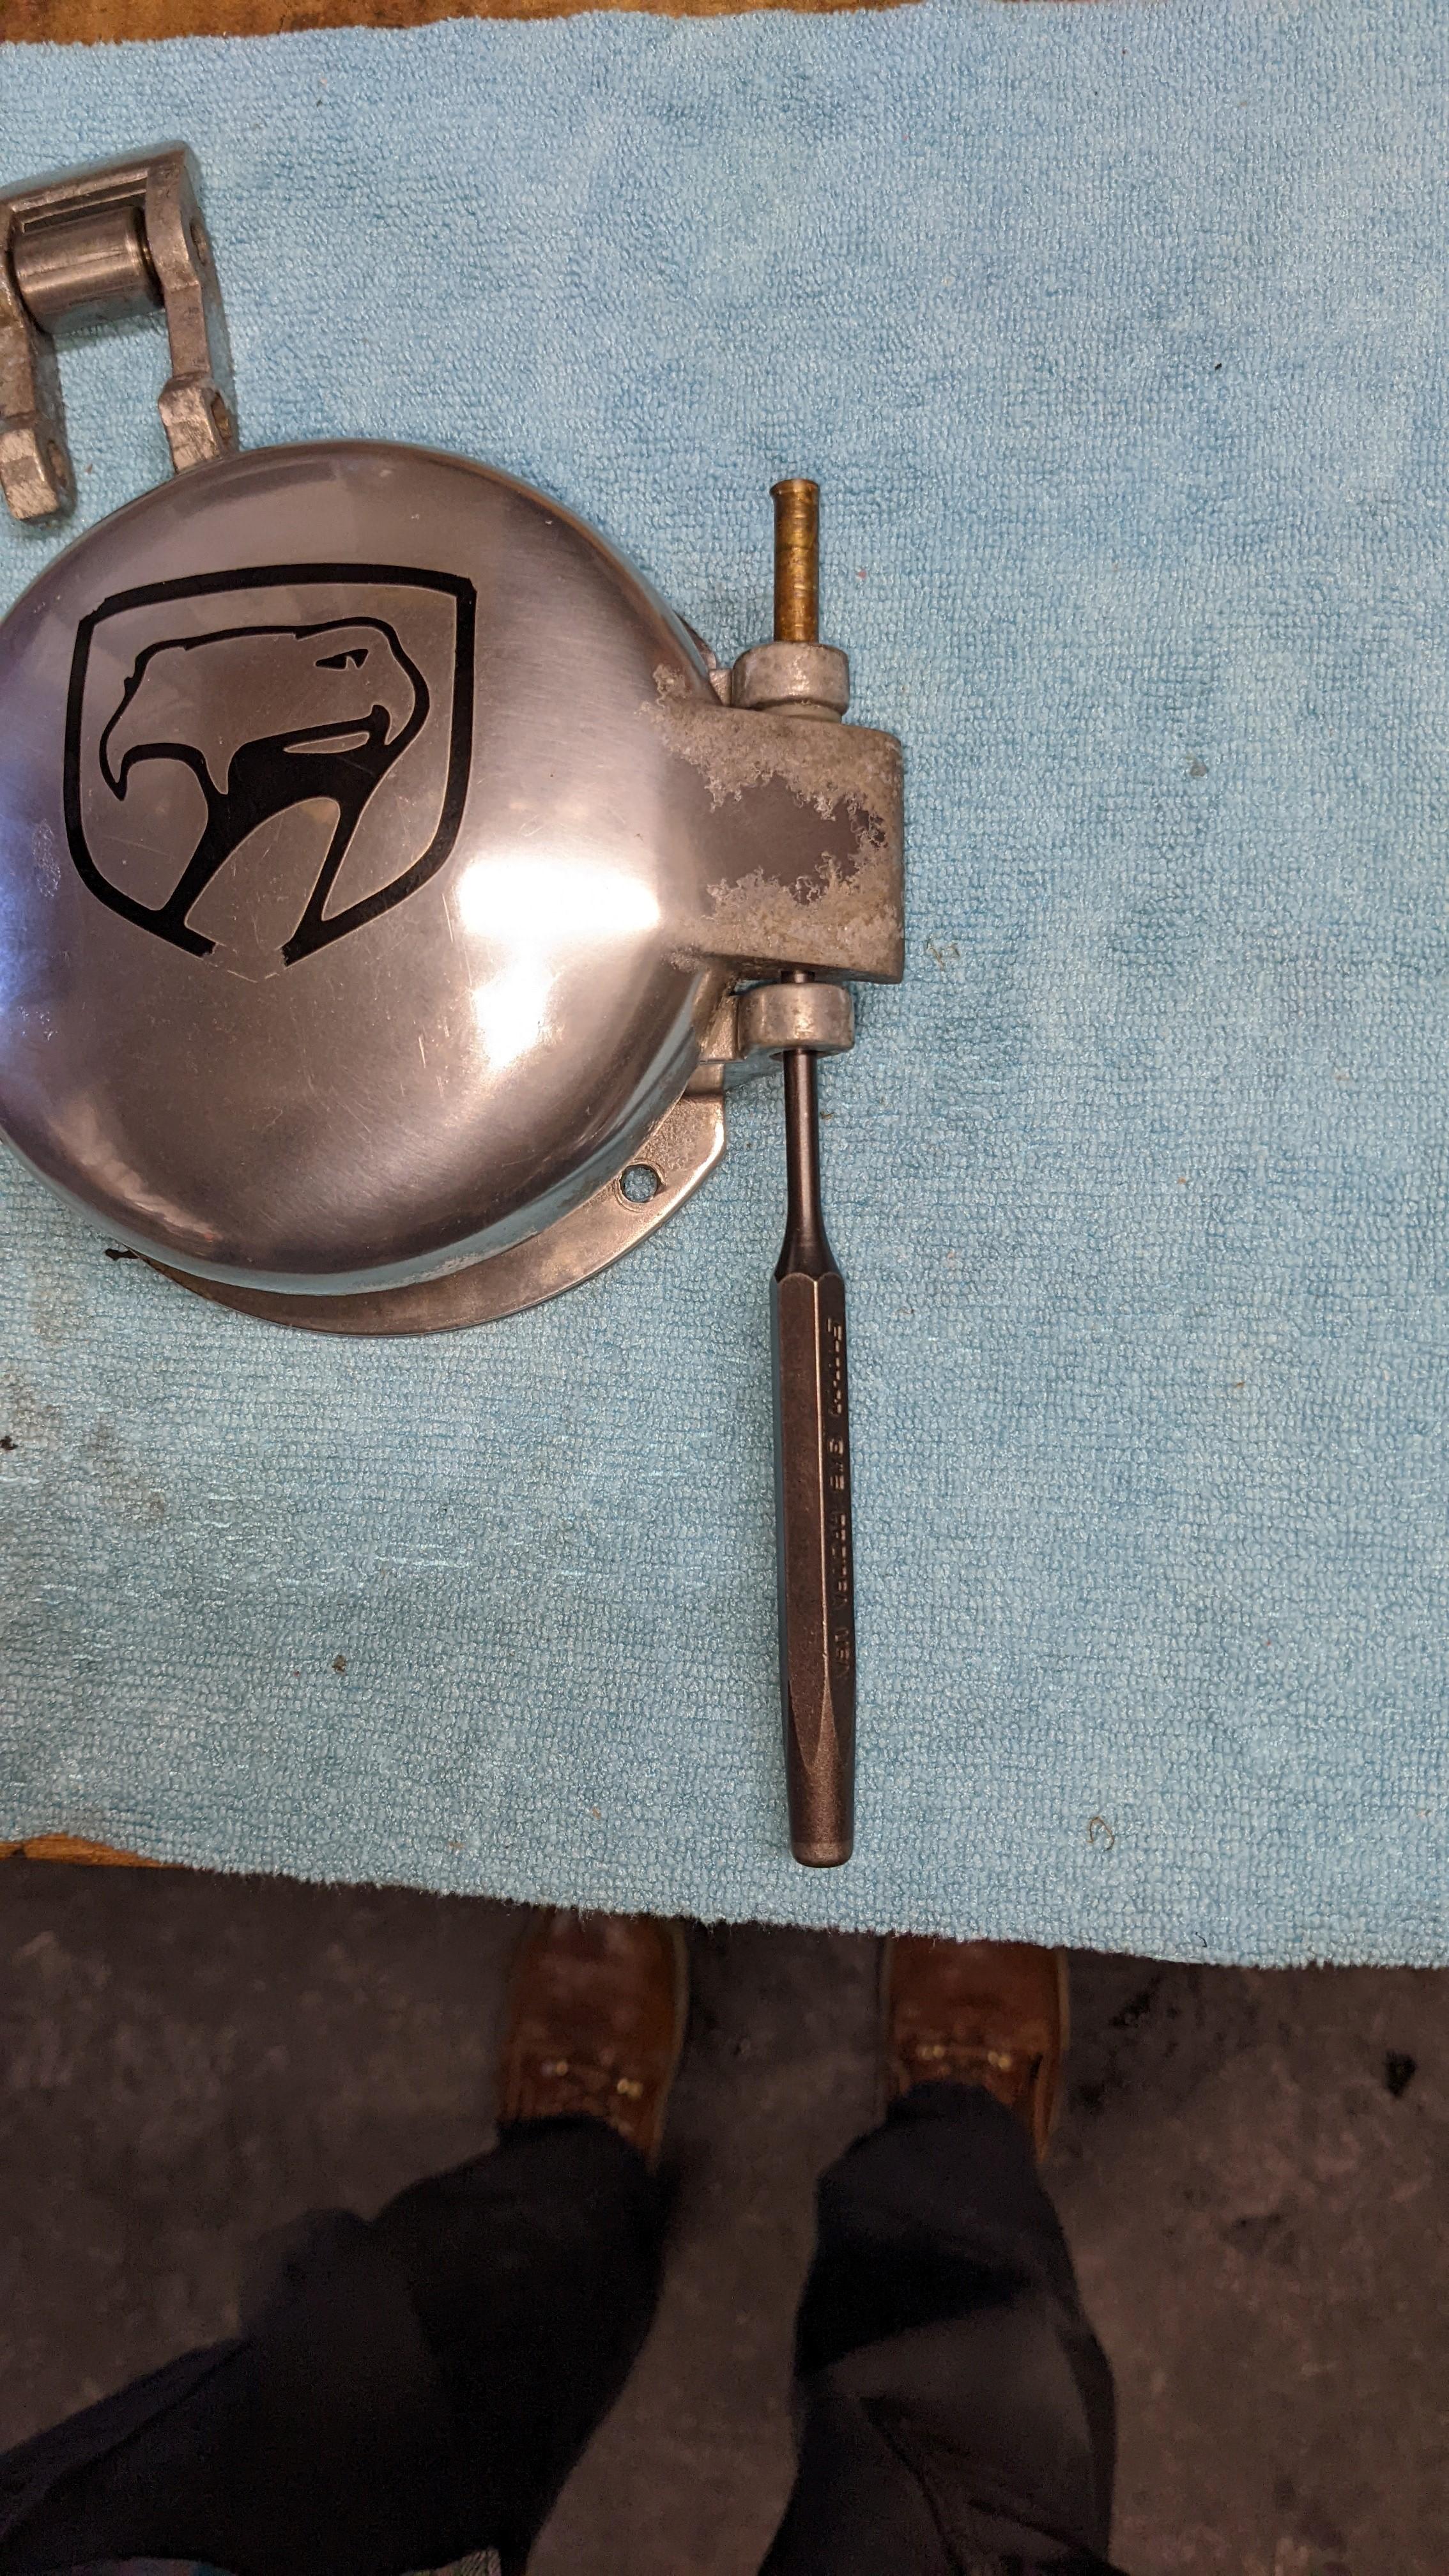
Step 6:
Remove spring plate that seals the door and cap with a ½ socket to remove the bolt. Be careful to
not lose the spring, it is required for reassembly.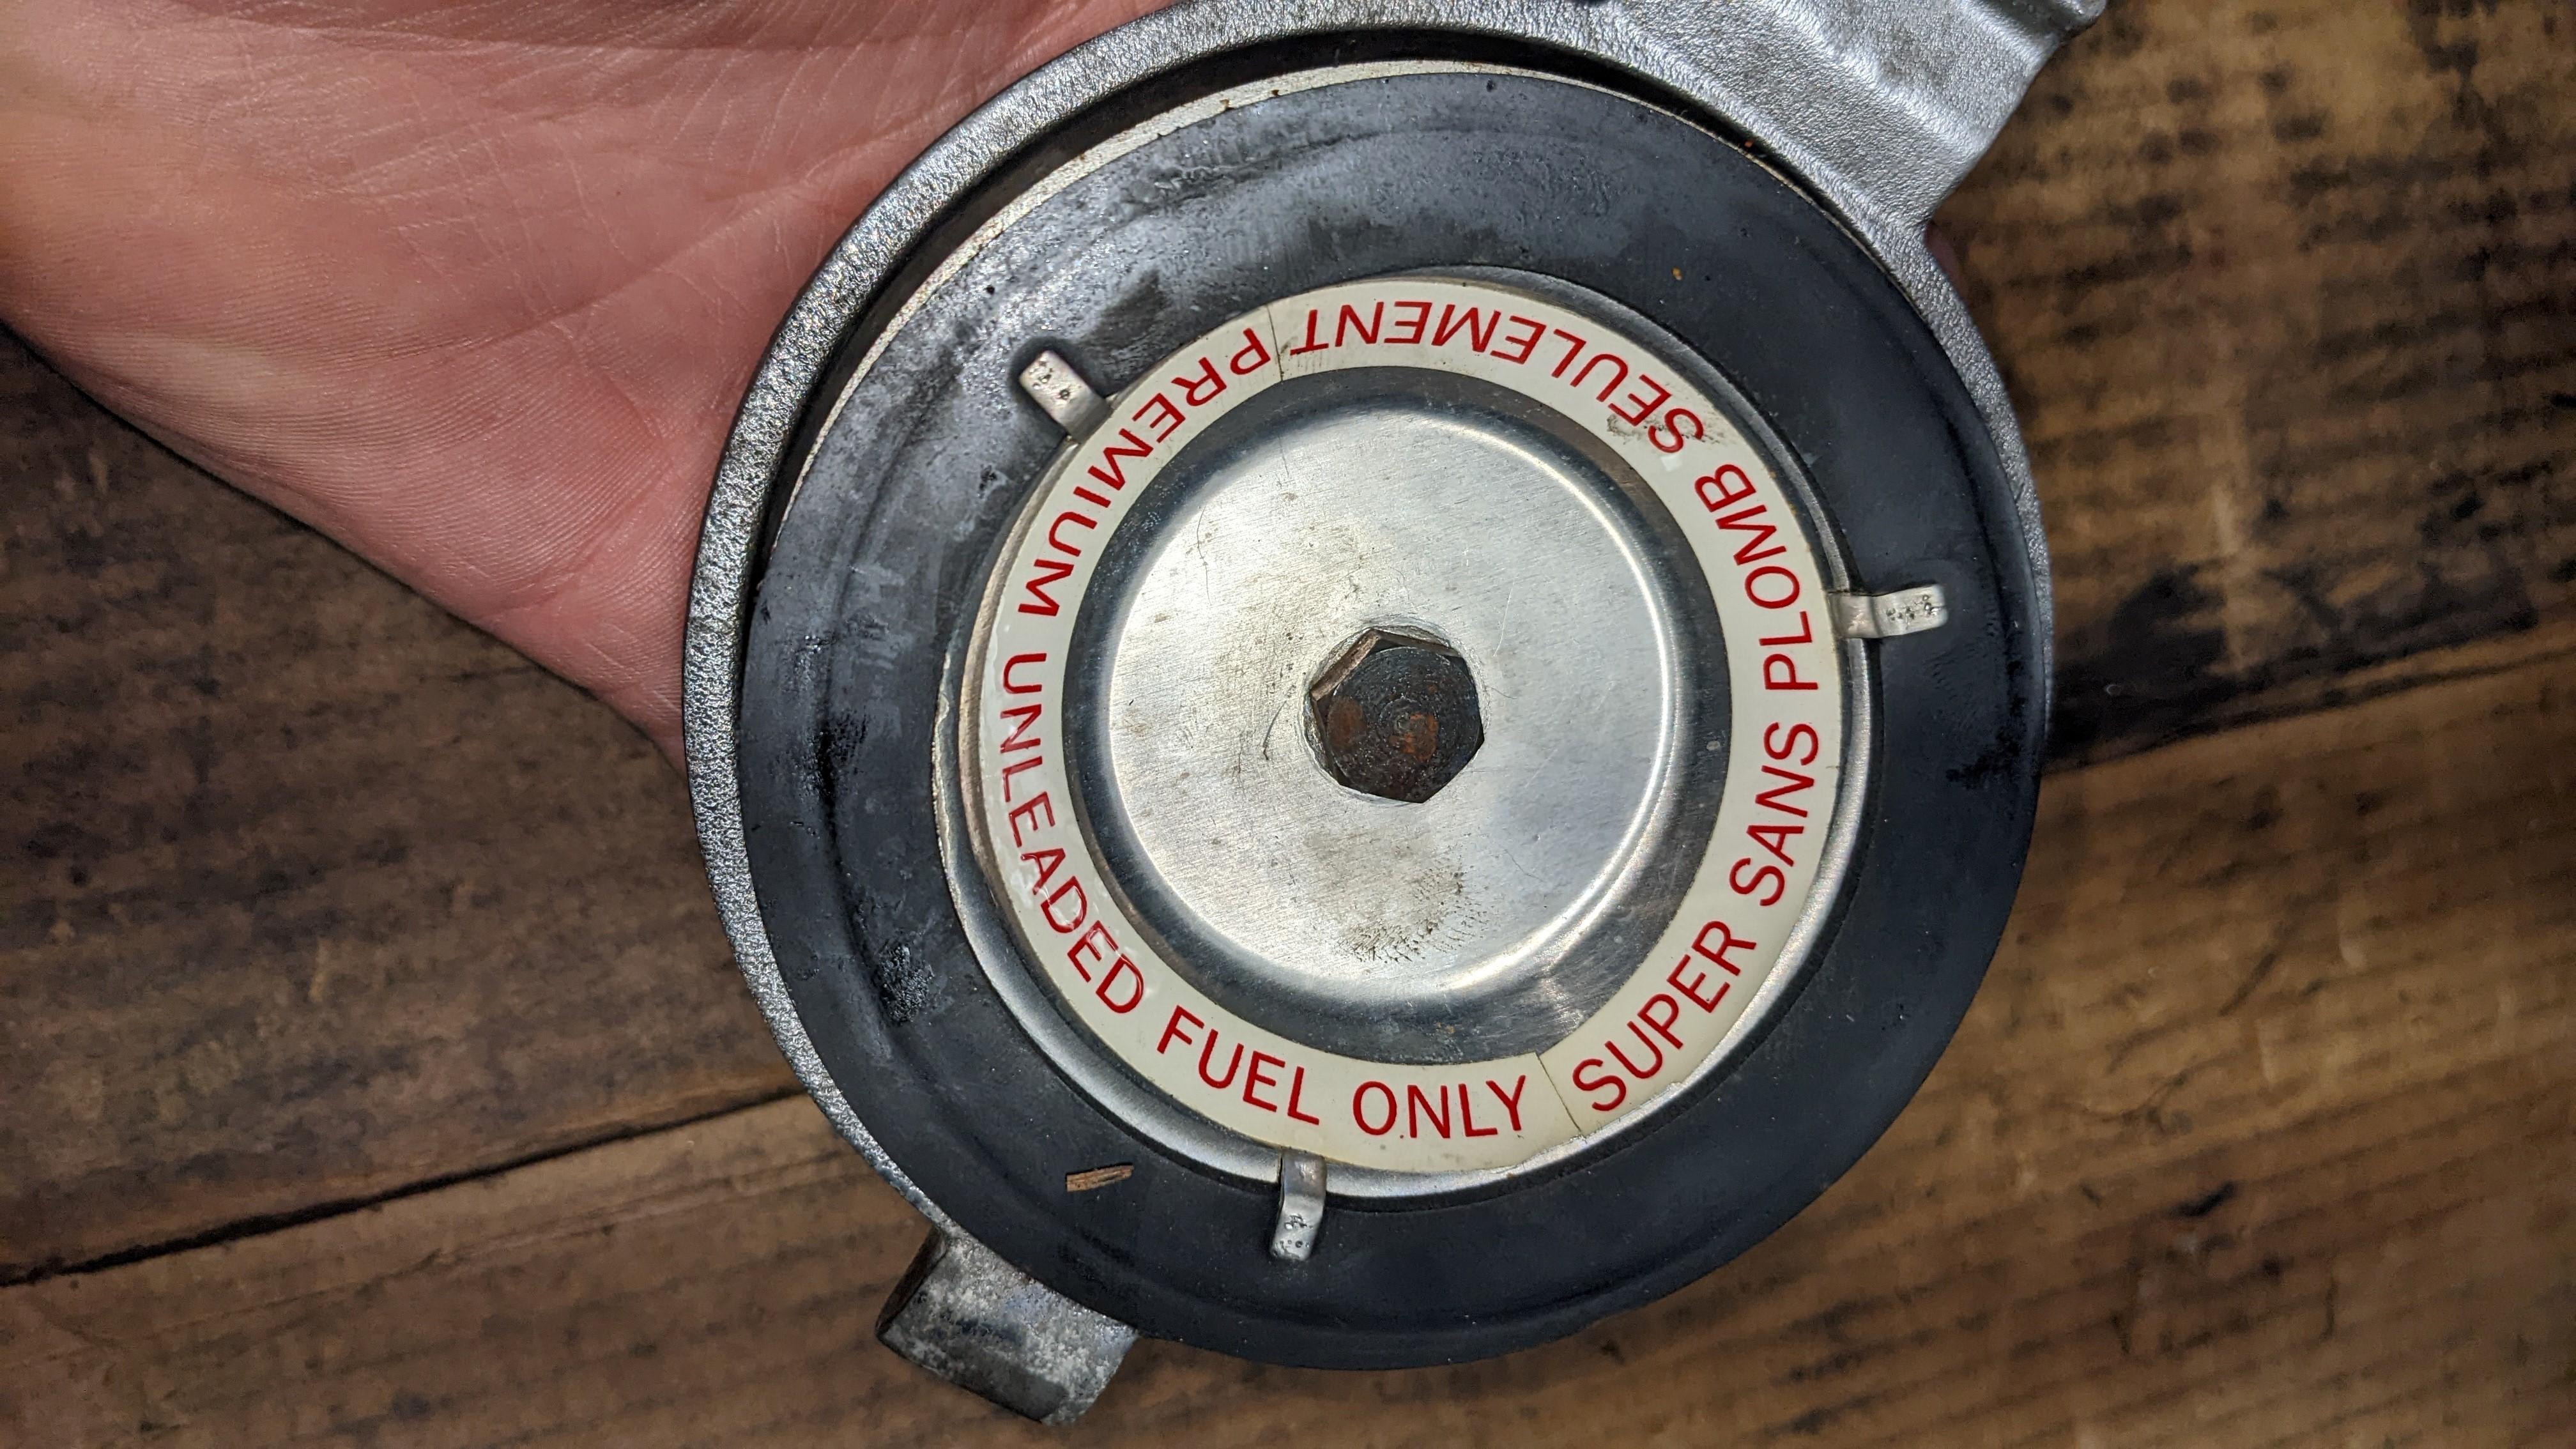
Step 7:
Now all the components removed and separated. This is where the fun begins! You can get it re-
chromed, or have it done in a specific color.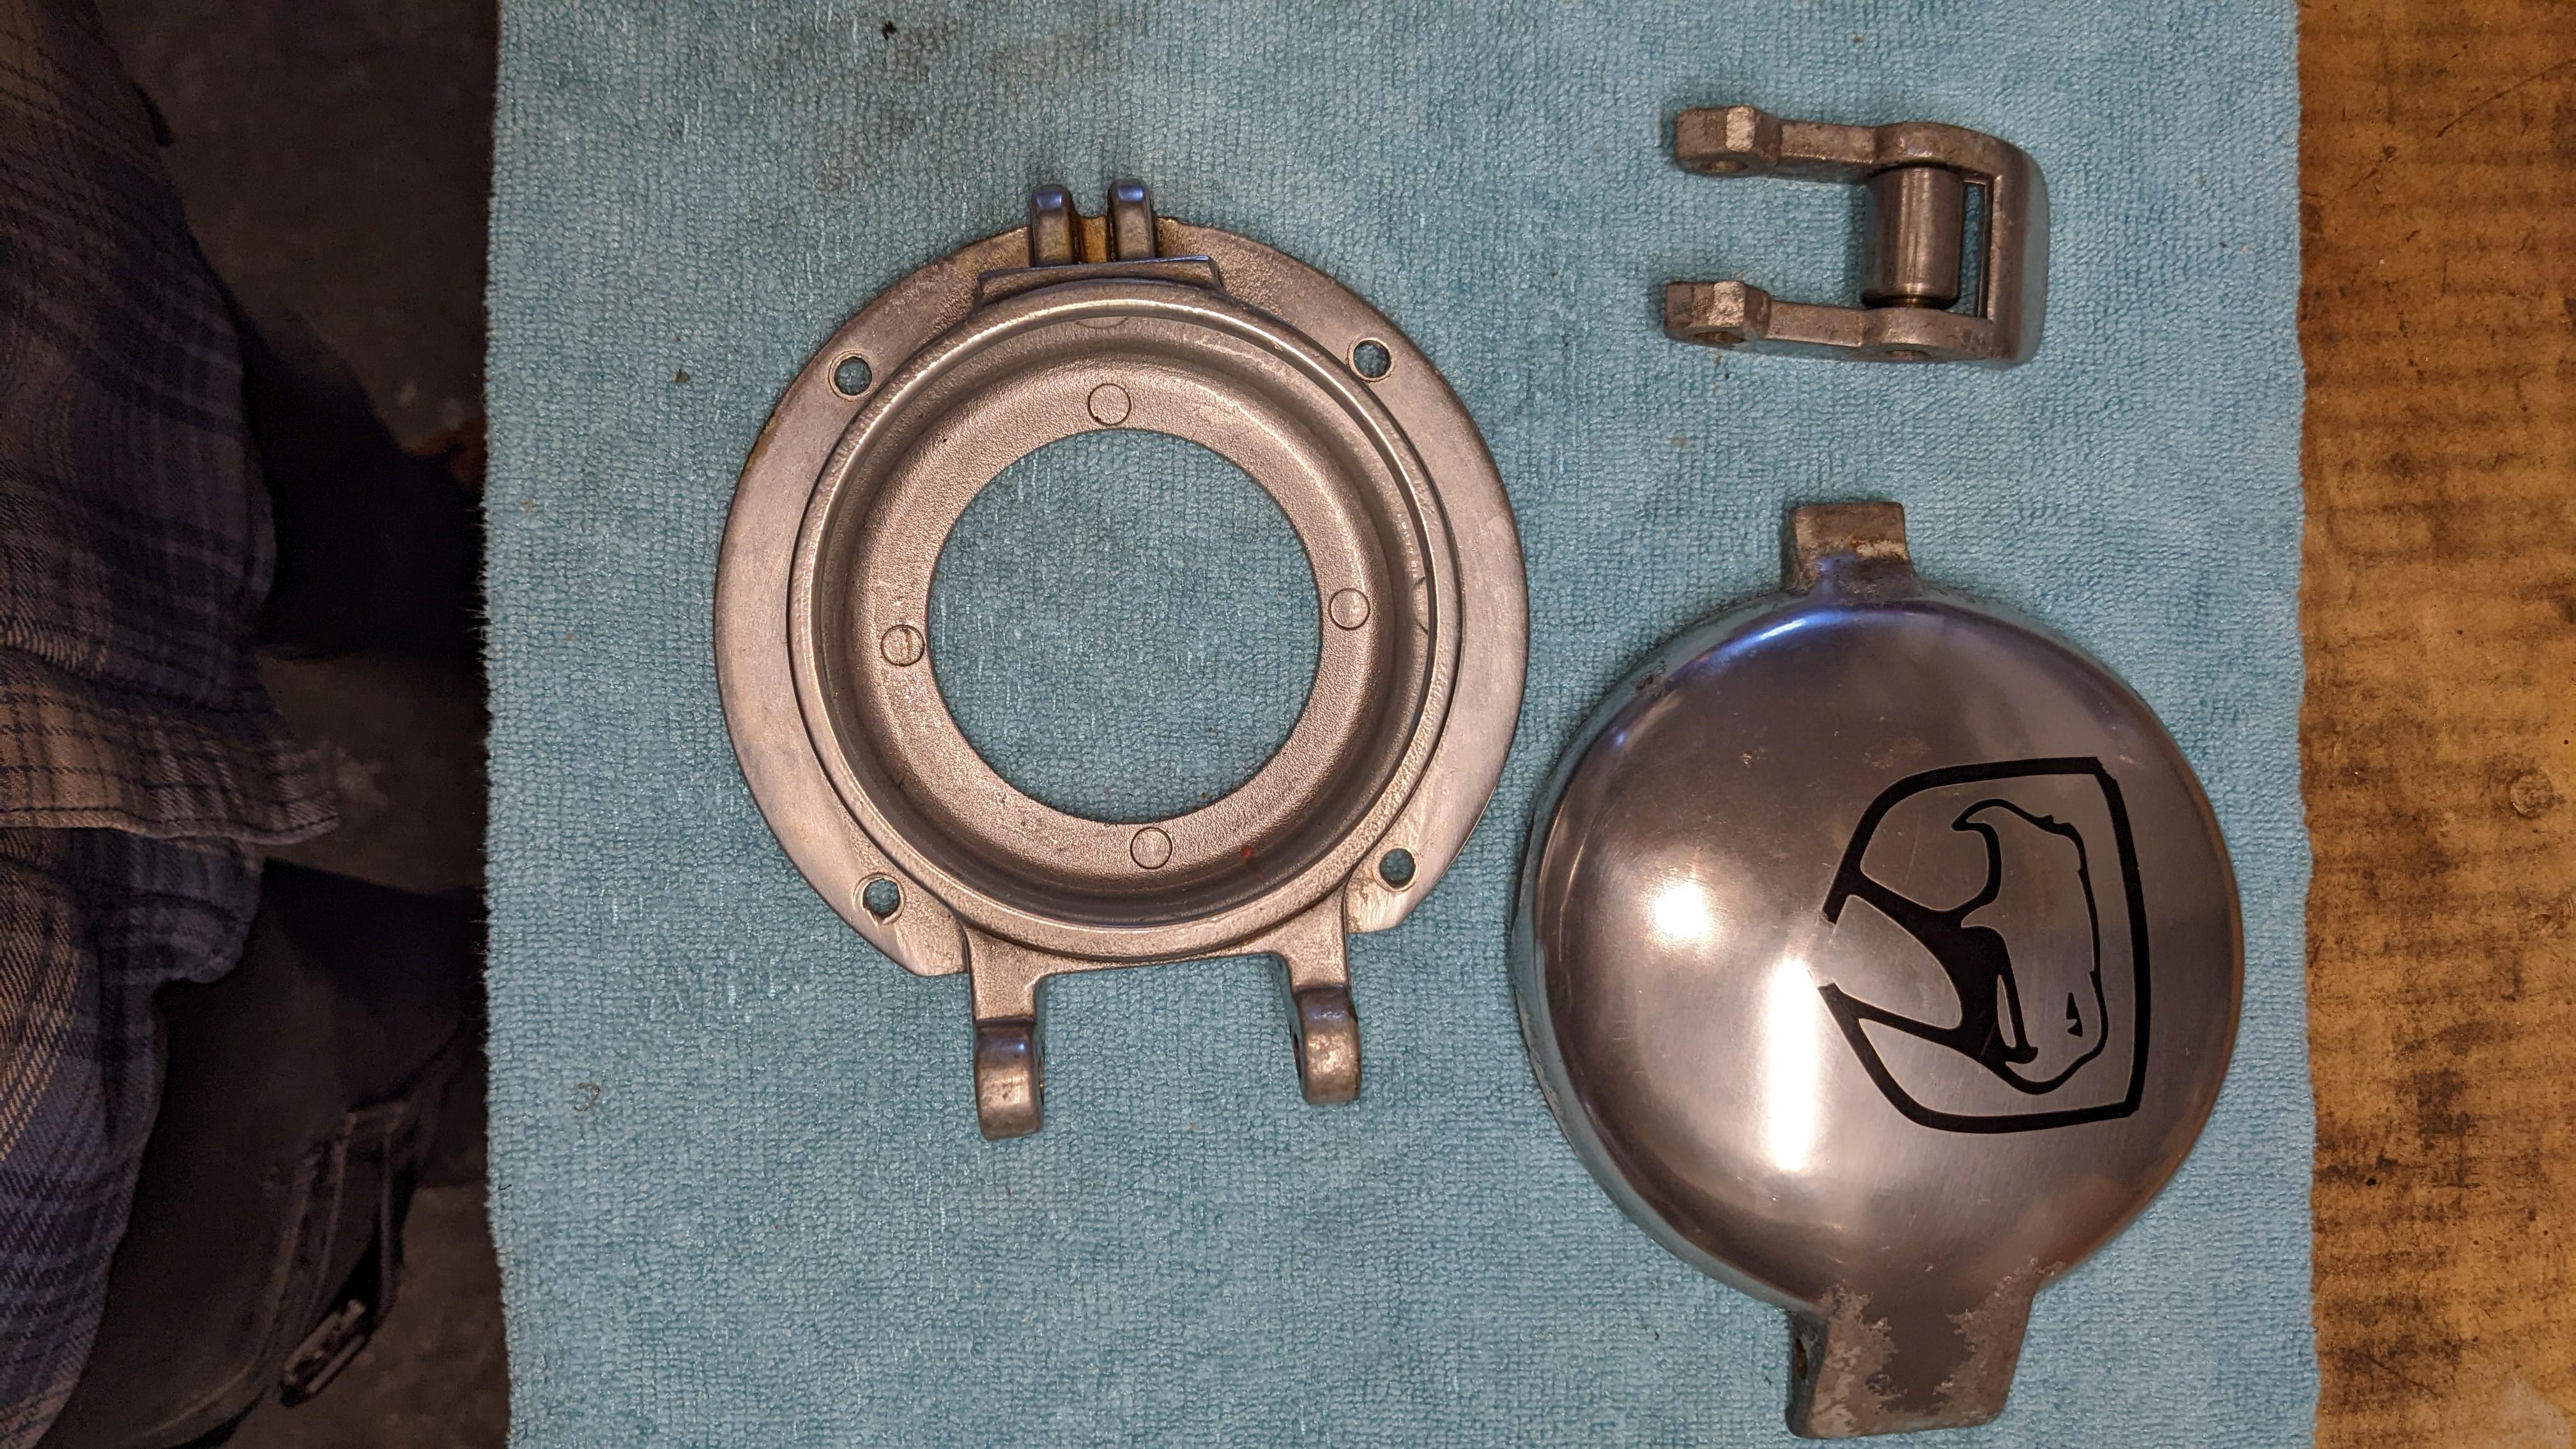
Step 8:
Use painters’ tape to prevent scratching the finish on your new door. Follow this “How to” in
reverse, and use your reference photos as a guide.Additional Pro Tips:
When pressing in the pins, be sure they are properly lubricated. Do not forget the plastic
washers, or spacers between the hinge and door.
When pressing in the pin for the latch, make sure you put the spring back over the pin when
you begin. This will keep the latch spring loaded.
Place the rubber gasket in the same orientation that you pulled it out, make sure you
lubricate it with WD-40 before pressing it onto the filler neck back onto the car.
Once the filler neck is around the fuel door you can put the Allen bolts back through and
secure it to the body.
-
-
AuthorPosts
- You must be logged in to reply to this topic.